
Complete Guide to AC Installation in Manchester: Keep Your Home Cool
Installing an air conditioner at home in Manchester offers true thermo-hygrometric comfort in the summer. Highly efficient and economical, an air conditioner consists of two units: a split unit installed inside the home to supply conditioned air, and an outdoor unit that converts hot air into cold air. If you’re looking for professional AC Installation Manchester, this guide covers everything you need to know about the process.
Installation and Operation of the Air Conditioner
An air conditioner, sized to fit the volume of your room, works better than a fan and more efficiently than a portable unit. It can significantly lower the temperature inside your Manchester home during scorching summer days while keeping your electricity bills under control.
The air conditioner has two main parts: the indoor unit and the outdoor unit. The outdoor unit houses the compressor, which generates cold air while minimizing noise and vibrations, and the indoor split unit delivers cool air directly into your living space.
An air conditioning kit consists of several components:
-
the indoor unit with its mounting plate;
-
the outdoor unit with brackets and silent blocks;
-
the insulated copper refrigerant connection;
-
the condensate drain pipe;
-
the power and connection cables;
-
the remote control;
-
the PVC duct (optional).
Note that reversible air-to-air heat pumps, which generate cold in summer and heat in winter, follow the same installation procedure. Professional AC Installation Manchester ensures each of these components is installed correctly.
Installation steps
1. Choose the location and install the indoor unit
The location of the indoor unit depends essentially on the length of the refrigerant connection provided with the kit. Based on this criterion, you will need to estimate the position of both the indoor and outdoor units. The indoor unit must be positioned at least 15 cm from the ceiling and, above 2 meters in height, on a wall facing outward. Avoid placing it near a heat source.
The mounting plate allows you to create a “blank” layout to define the position of the holes needed to secure the module. Using a spirit level and a tape measure, mark the plate’s anchor points. Also mark the position of the hole for the refrigerant pipe and connection cables. Using a hammer drill or a perforator, drill the holes for the anchors, which should be chosen based on the wall material.
2. Drill the wall for the pipes
To connect the two units, you will need a refrigerant connection pre-charged with refrigerant. This consists of two insulated copper pipes sealed at the ends with biconical fittings to prevent refrigerant leaks. The assembly kit also includes a condensation drain pipe and the electrical power and connection cables.
To pass the pipes, drill a pilot hole with a long drill bit. This hole should be angled downward on the outside (ideal angle: ∼ 5°).
Then use a drill equipped with a tungsten carbide core bit, large enough to allow for the refrigerant connection, drain hose, and electrical wiring.
Caution! Before drilling the wall with the core bit, deactivate the hammer function on the drill and use only drilling mode.
3. Install the outdoor unit
Before choosing where to place the outdoor unit, you must consider the length of the refrigerant connection. Also, choose an area free from any obstacles and in the open air to ensure the compressor can cool. Avoid installing the outdoor unit in areas exposed to drafts, to prevent dust from clogging it. Also consider the noise generated by the outdoor unit, so position it so as to avoid noise pollution, especially if you have neighbors in Manchester.
After identifying the possible location, determined by the length of the connection cables, you can choose between two options:
-
Place the outdoor unit high up. In this case, you will need a support, either already supplied or purchased separately, for solid mounting.
-
Place the outdoor unit on the ground. In this case, the support must be anchored to a concrete surface and isolated from the ground to reduce vibrations.
In any case, you will need to install anti-vibration mounts (silent blocks) to absorb vibrations and reduce noise. Proper AC Installation Manchester guarantees the correct setup for optimal performance.
4. Install the connections
To connect the two units, it is good practice to place PVC conduits along these connections for aesthetic reasons.
The two units produce condensation, which is evacuated through the exhaust ducts. These should be placed at the bottom. Next, direct it toward the most convenient drainage point. Provide a collection area or container capable of receiving a maximum of 30 liters per day.
The refrigerant connection uses double-cone fittings that allow each device to be connected without losing refrigerant.
Connect the electrical cables between the two units and connect the power supply.
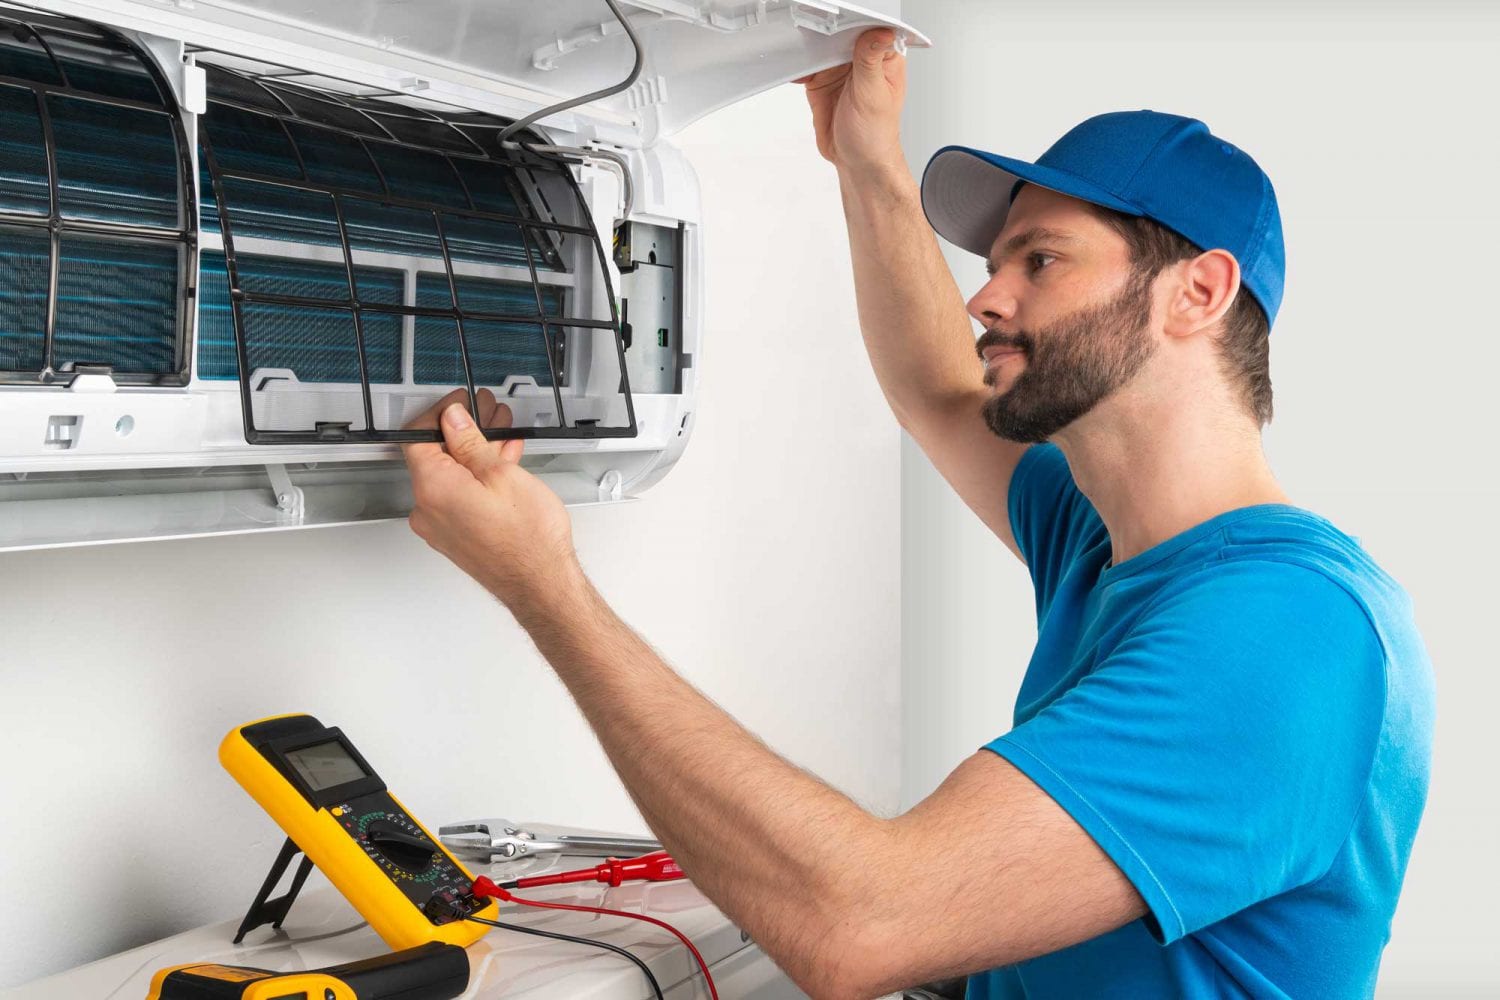
5. Perform usage checks
After installing the outdoor unit, remove the front filter and pour a little water into the condensation collection area. If the condensation drains easily toward the drainage point, you have installed the system correctly.
Replace the filters.
After letting the system rest for a few hours, turn on the air conditioning and perform a leak test with a leak detector spray.
The remote control allows you to adjust the temperature to your liking. However, for your comfort, avoid excessively low temperatures, which could cause health problems.
The installation procedure is the same for reversible air conditioners (heat pumps) that can heat a room in winter.
The technicians we collaborate with:
EMERGENCY ELECTRICIAN MANCHESTER EMERGENCY PLUMBER WORCESTER
CALL: 01613940988